Masks are used to apply blending and transparency effects to images and graphics. For example, an image hole may have a mask added to it to soften the edges, thereby blending the edges into the background. Vignettes are one such example. The second image below has had a mask applied to achieve the vignetting effect.
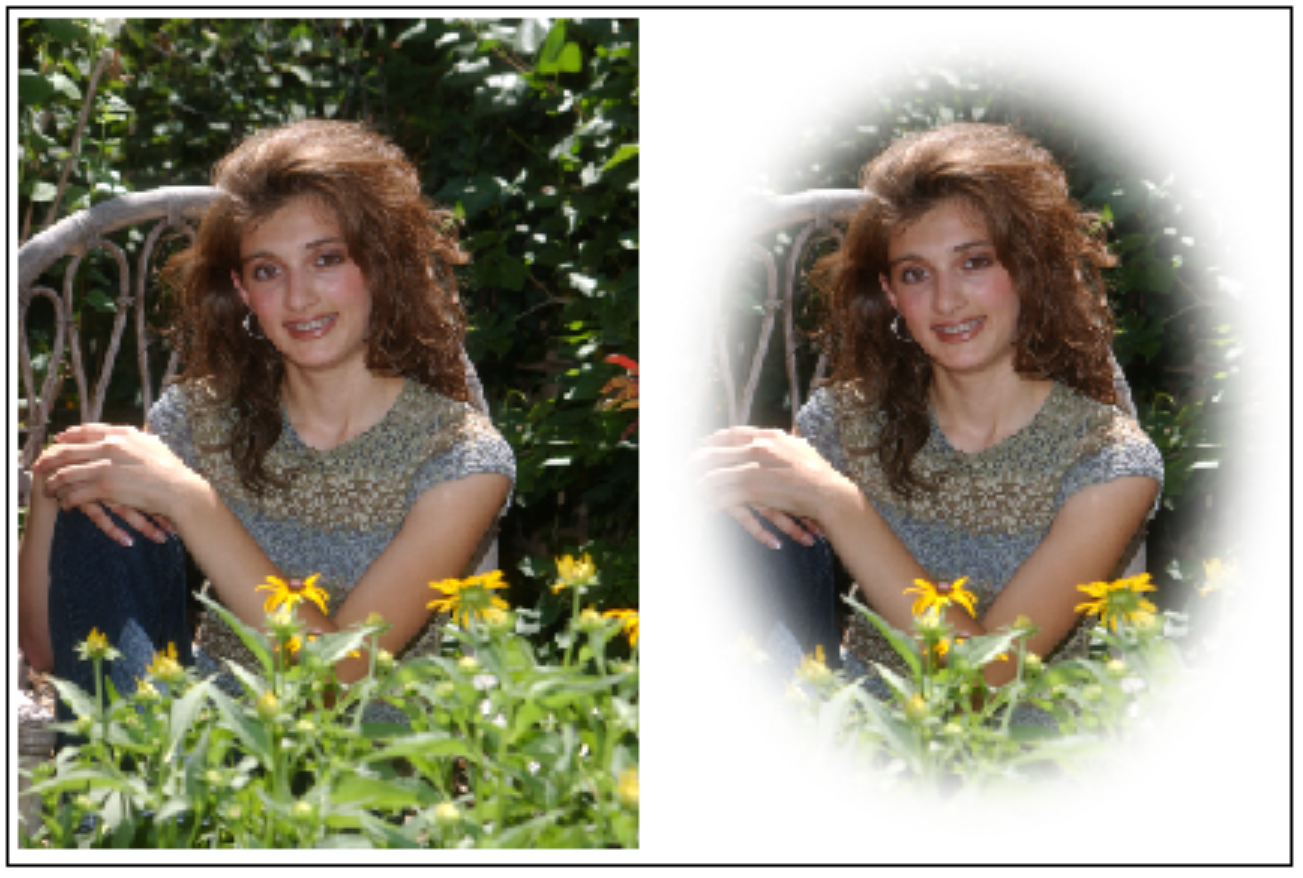
Figure 1: A mask has been used to achieve a vignetting effect.
What is a mask?
A mask is simply an 8-bit greyscale image file created in Photoshop (or equivalent) and saved as any standard image format (JPG, PNG, or TIFF).
The key point to consider concerning masks is this:
An area of the mask that is 100% black will be transparent.
An area of the mask that is 100% white will be completely opaque.
All shades of grey between full black and full white will convey various degrees of transparency.
With the above rule in mind, consider the mask used to achieve the vignette above.
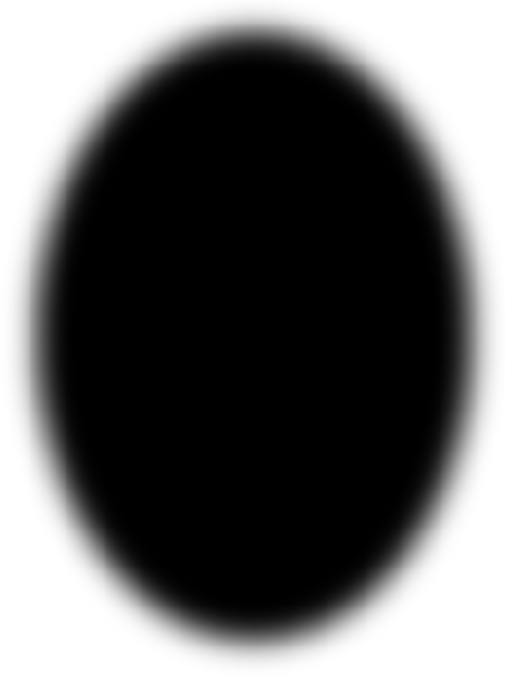
Figure 2: A Mask
The center portion of the mask is completely black and therefore 100% transparent. The image is completely visible in this area. Likewise, the outside of the mask is completely white and therefore opacifies the image in this area. At the edges, the mask blends from black to white via continuous shades of grey. In this area, the image is partially transparent.
Applying the mask to the image hole
Masks can be applied to any image or graphic object on any template. This includes:
image holes
labelled image holders
graphics objects

Figure 3: The Set Mask Window
To apply a mask:
Click the Set Mask button on the toolbar or use Image>Set Mask from the menu
Click the Load button to browse for and select a mask
If needed, flip or rotate the mask
Click OK to load the mask
To change a mask or remove it from the image hole, select the image hole in question, then select the "Set Mask" function once more. Click the None button to remove the mask or the Load button to browse for another mask.
CAUTION!
Processing images and graphics with masks is very demanding on system resources, particularly RAM and CPU. As a consequence, you may find printing products with masks slower than normal.
To alleviate this problem there are a few things the user can do:
Make sure the mask is a greyscale image, NOT RGB. An RGB image is three times larger than its greyscale equivalent and is correspondingly slower to render.
Masks do not need to be created at full printing resolution. A Resolution of 100dpi or even lower will suffice.
As with all printing, extra RAM on the printing computer will help.
Adding a dark vignette to an image
To achieve a dark vignette, it is simply a matter of placing a black or dark graphic behind the image hole on the template. Since the edges of the second image are partially transparent, the black graphic will be partially visible, darkening the edges as illustrated below.
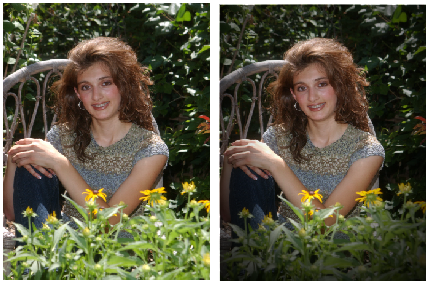
Figure 4: A dark graphic has been placed behind the image
The user is encouraged to experiment with different masks and different coloured background graphics to achieve a range of effects.
FAQ
What is a mask in image editing?
A mask is an 8-bit greyscale image file used to apply blending and transparency effects to images and graphics.
How does a mask affect transparency?
An area of the mask that is 100% black will be transparent, while an area that is 100% white will be completely opaque. Shades of grey in between will convey various degrees of transparency.
What steps are involved in applying a mask?
To apply a mask, click the Set Mask button, load the desired mask, and then click OK to apply it.
Is it possible to remove a mask once applied?
Yes, you can remove a mask by selecting the image hole and using the Set Mask function to click the None button.
Should masks be created in RGB or greyscale?
Masks should be created as greyscale images, as RGB images are larger and slower to render.
What resolution is recommended for creating masks?
Masks do not need to be created at full printing resolution; a resolution of 100dpi or lower is sufficient.
Can you make an image have curved edges ?
Yes, you would need to make a mask to give the effect desired and apply the mask to the images as described above.