Introduction
Most commonly, Paper Orders are entered for a subject. The user selects a subject then enters package codes by keyboard, barcode or text file. Unlike online orders, these paper orders do not have the concept of a customer and by extension all the associated customer information such as name, address, phone number and email address.
Since for the most part, paper orders are bulk printed and delivered to the school or organization, the lack of customer information is not usually an issue. In these cases the orders are handed directly to the subject.
There may be occasions however, when the user may wish to associate the subject orders to a customer. This allows for delivery of the order directly to the person placing the order, the customer, rather than the subject. This can be achieved by creating a customer before adding orders for one or more subjects. Such orders are referred to as Customer Paper Orders or more simple Customer Orders. Their benefits include but are not limited to:
Add orders for multiple subjects to a single customer (eg siblings)
Multiple customers can order for the same subject (eg estranged parents)
Customer orders receive an order key for reference
Sort the print queue by customer or order
Print order headers with customer and order details
Use case examples
Below are two examples where subjects’ paper orders would be better placed against a customer rather than just the subject.
Consider a customer service situation where a parent calls to place a phone order and asks for the order to be shipped directly to them. By adding the parent as a customer, their name and address can be entered and one or more orders can be placed on behalf of the parent.
Furthermore packages for multiple subjects (the parent may have several children in the job) can be entered, all part of the one order and all assigned to the single customer. An order header can be printed with the order outlining the customer, subject and order details and can be used as a package or mailing label
In another example, a child may submit two order envelopes on photography day - one for their mother and one for their father - and these orders need to be handled, packaged and dispatched separately.
By adding each parent as a customer it becomes a simple matter to keep the two orders separate and ensure the correct parent receives the correct order.
Creating customer orders
Creating customer based paper orders in Details Mode essentially involves creating a Customer then adding orders for subjects.
Click the New customer button at the bottom of Details Mode or select Orders>New customer from the menu
Enter customer details into the customer window
Select the desired subject and enter orders for the subject by keyboard (F3) or by scanning barcodes
If needed, repeat step 3 for further subjects - they will be added to the same customer
To add orders for another customer, repeat steps 1-4
To stop adding customer orders, Clear the current customer
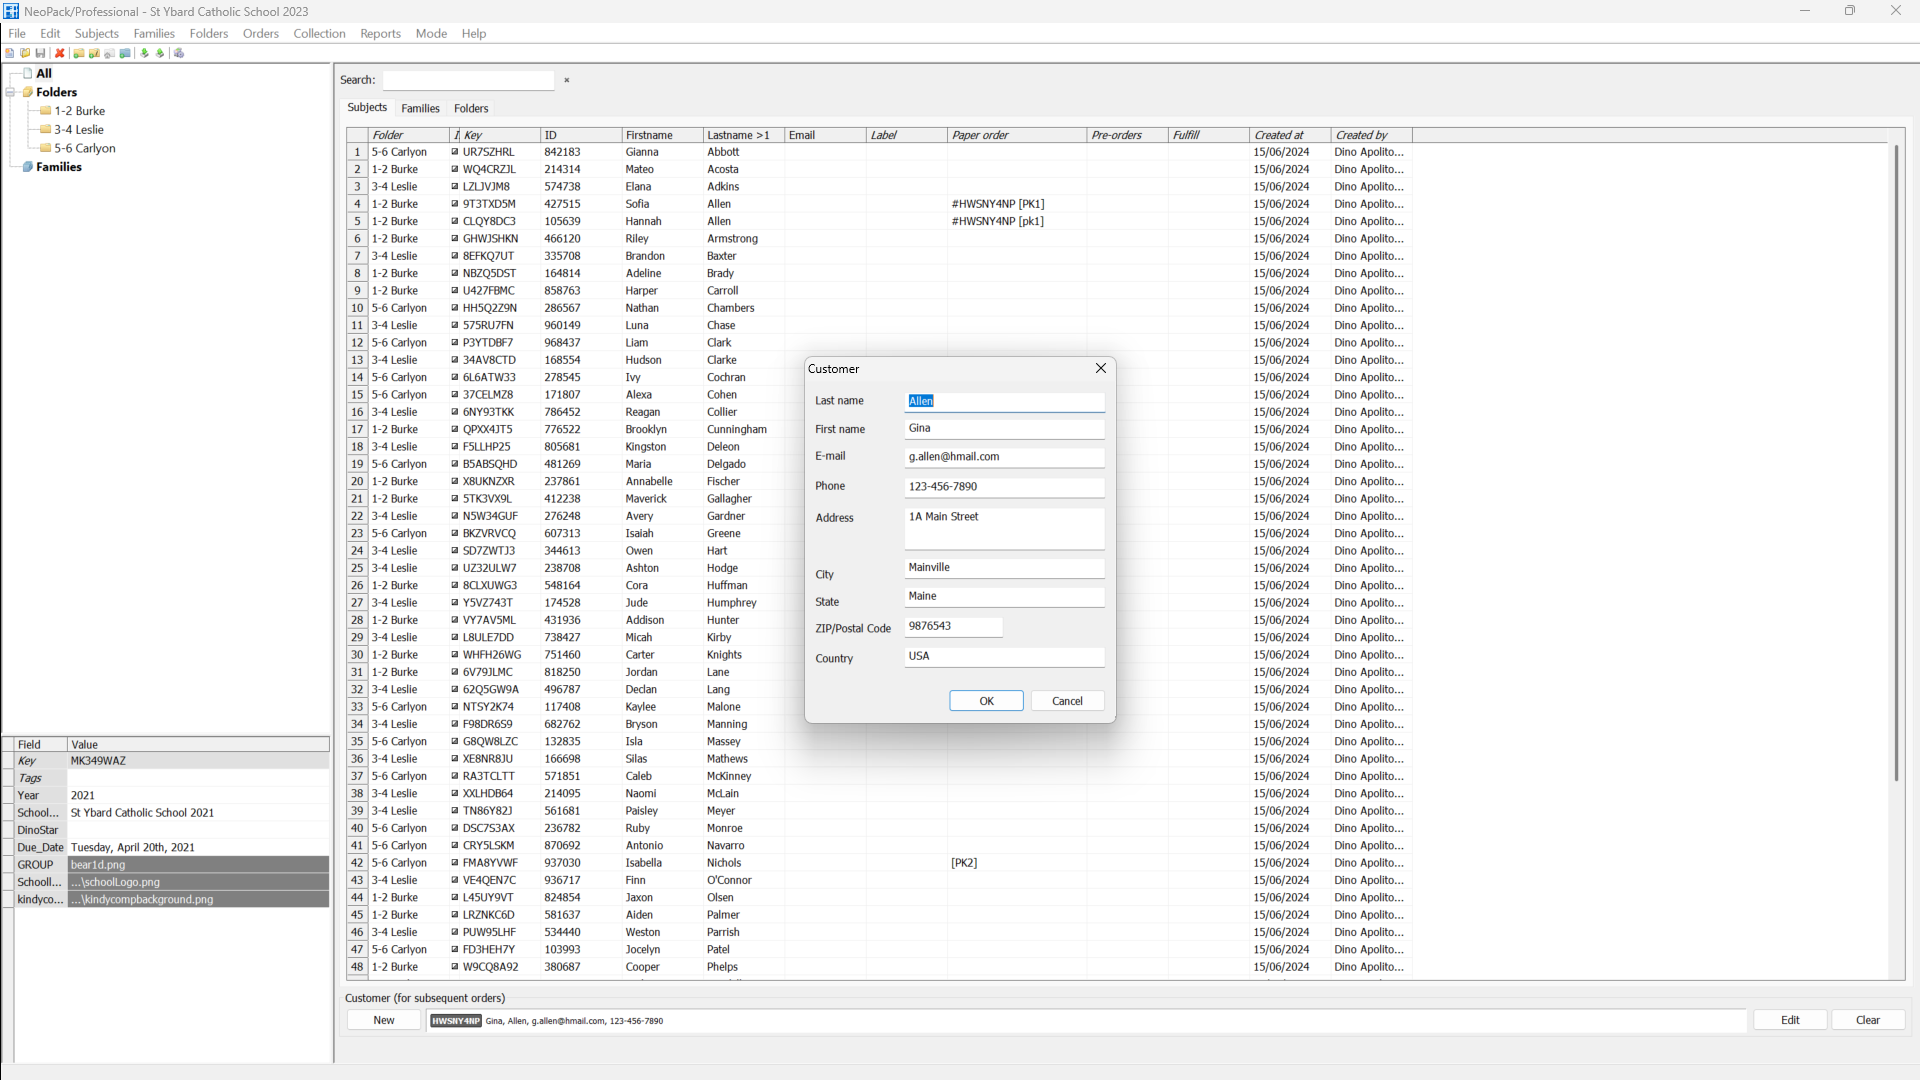
Figure1: Entering a customer paper order in Details Mode
In the screen grab above, the customer Gina Allen has been created. She has ordered package PK1 for two subjects, Sofia and Hannah Allen. Note the order key along with the Package Code in the Paper Order column.
Creating customer orders - alternative methods
Although the above is the most popular method for adding customer orders, two variations exist.
When adding paper orders via the keyboard, it is possible to add a customer from within the Add order wizard.
Select the subject
Select F3 or Orders>Add orders .. to launch the Add Order wizard
Select Control + Plus to launch the Add customer window
Enter customer details
Continue adding packages and options for the selected subject
Note this method can only be used to add a customer order for a single subject.
Similar to the alternative method in Details Mode, the subject is found before using F3 to add packages.
Select the View/change paper orders tab
Use the Find subject section to find the desired subject
Select F3 to launch the Add order wizard
Select Control + Plus to launch the Add customer window
Enter customer details
Continue adding packages and options for the selected subject
Note this method can only be used to add a customer order for a single subject.
Customer orders in Queue Mode
Customer orders appear in Queue Mode where they can printed along with other paper orders and any online pre-orders. Optionally, Order Headers can be printed for each customer order.
Finding customer orders
Since customer paper orders are still classified as Paper Orders, they appear with the Paper Orders selection in the orders tree in Queue Mode.
The Find windows in Queue Mode can be used to find specific orders for a customer either via the customer’s name or the customer order’s Order Key.
Sorting for customer
If needed, the sort parameter Pack>[customer] can be used to sort the queue according to customer name. As with other sort parameters, it can be used as the first, second or third level sort.
To sort by customer:
In Queue Mode, select Queue>Sort
For either sort level select Pack then [customer]
Select ascending or descending as needed
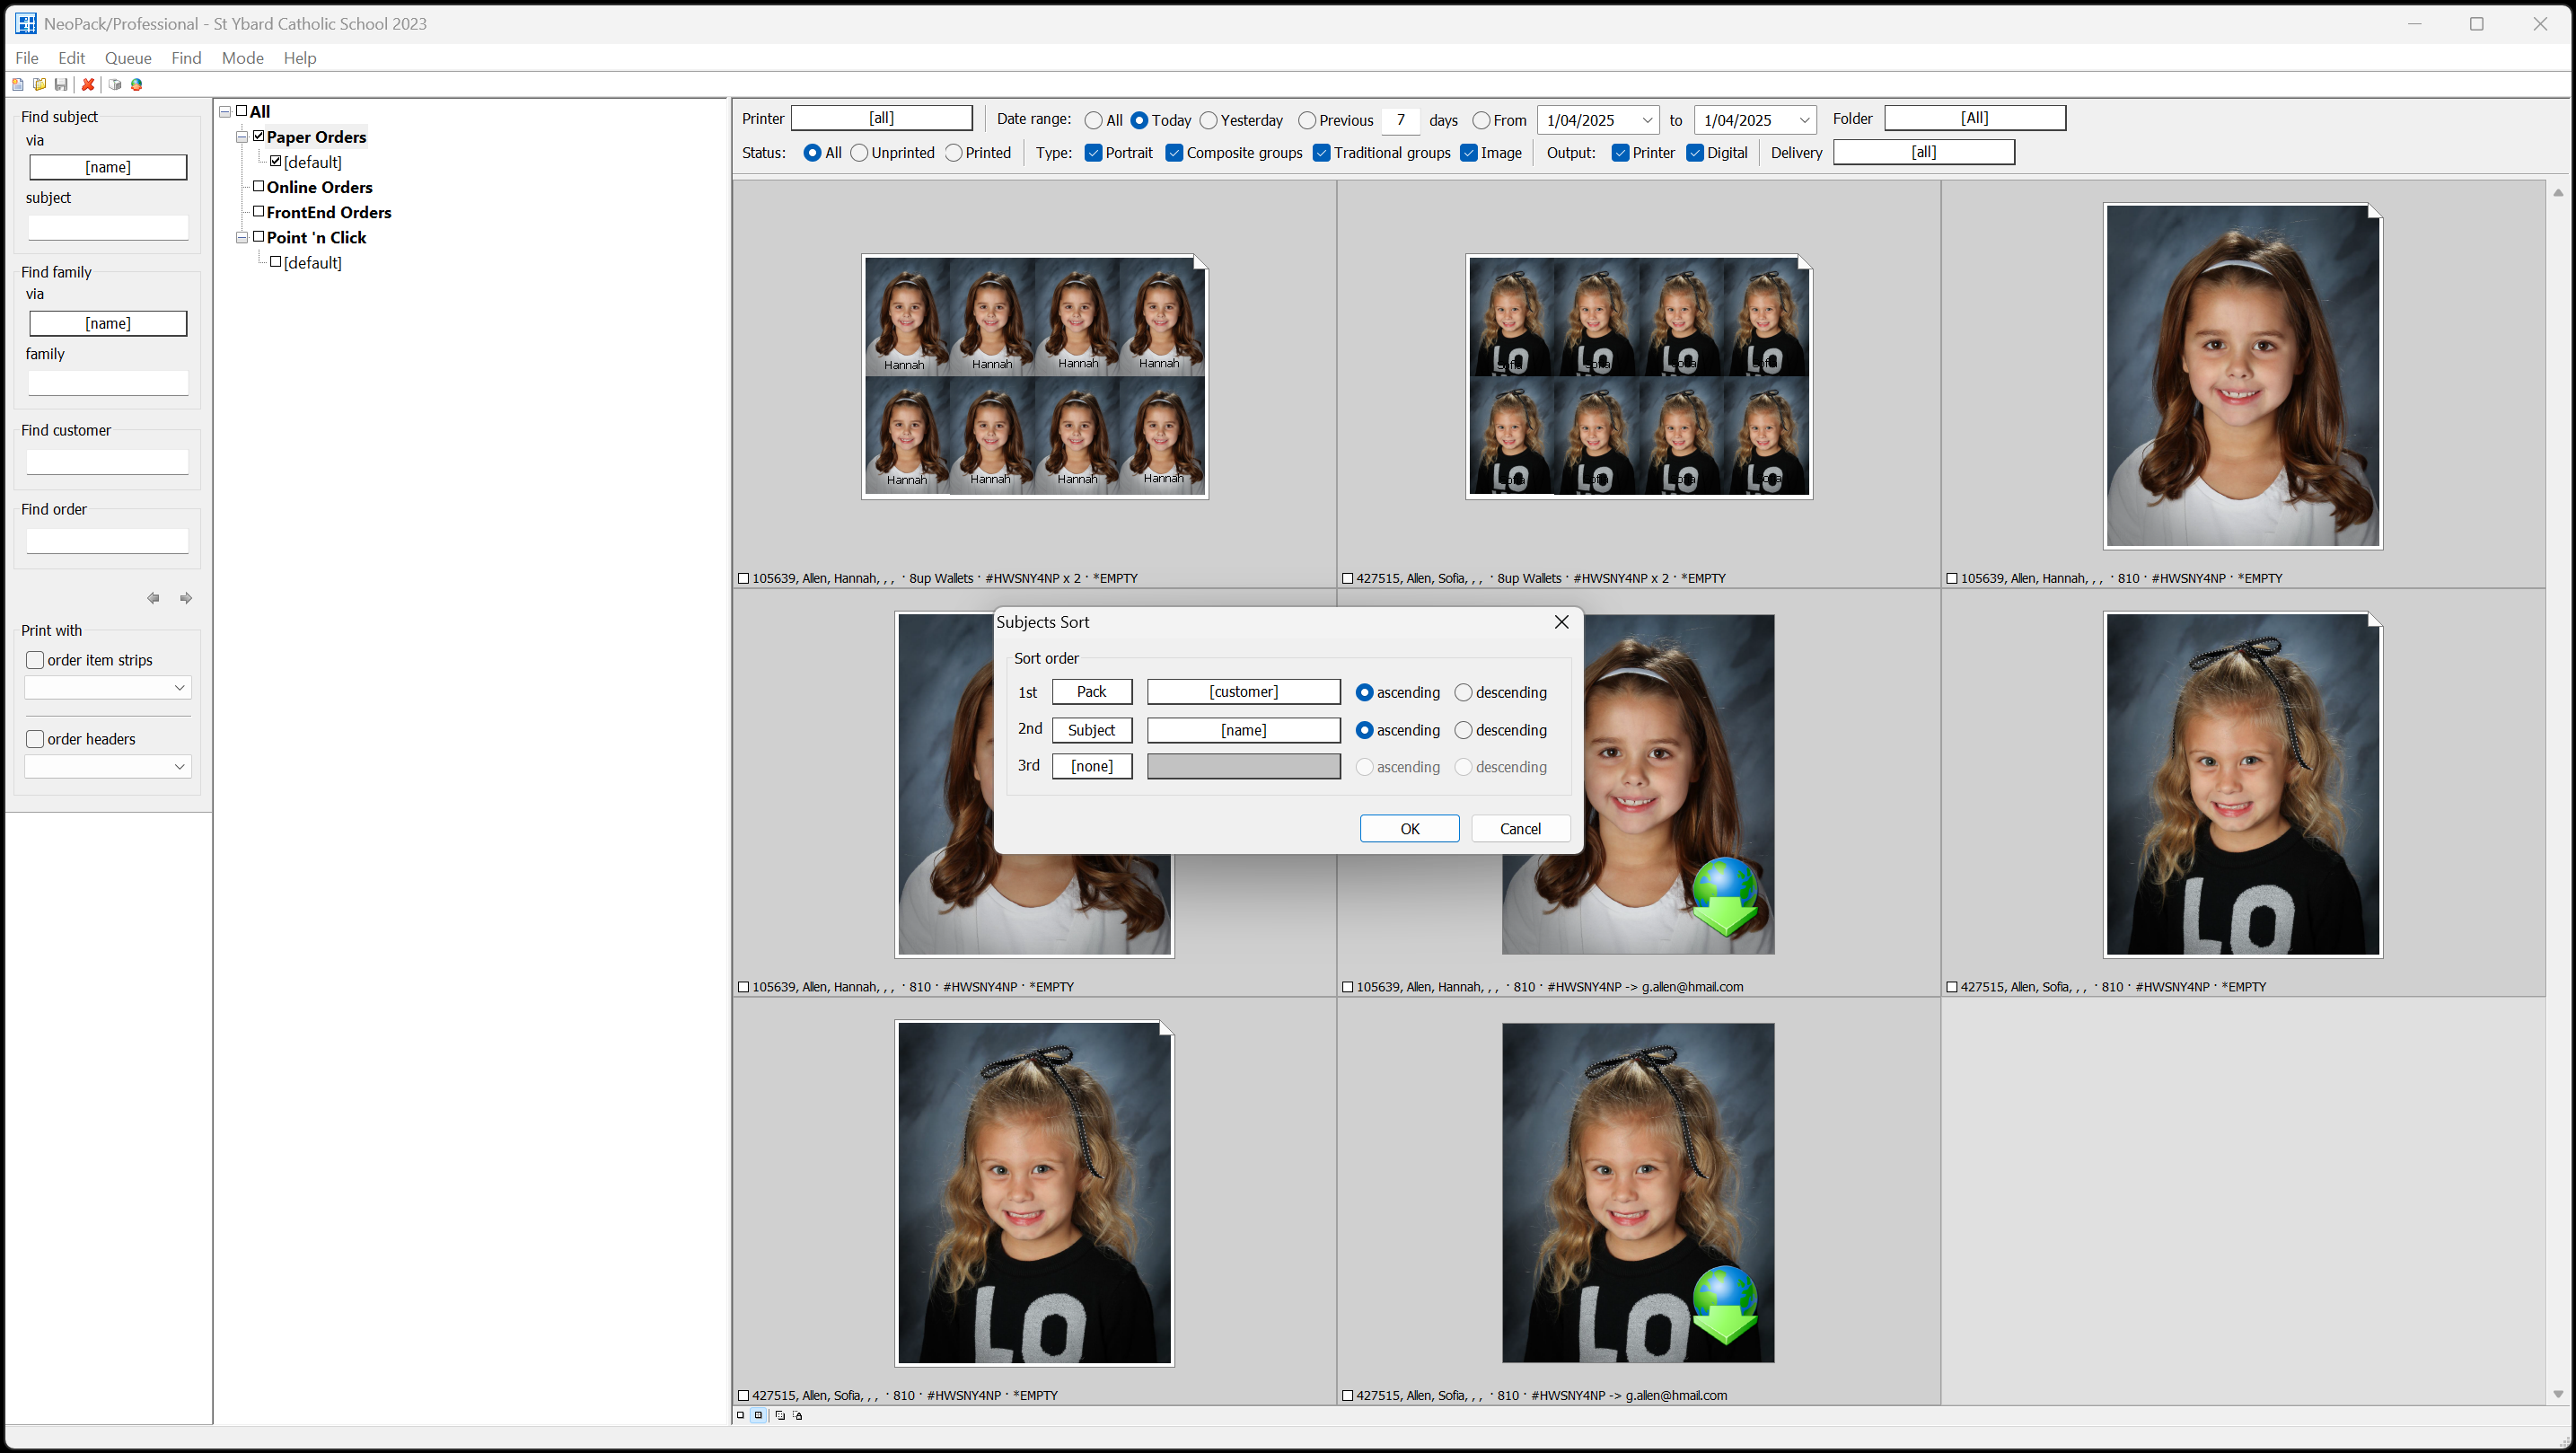
Figure 2: Sorting the print queue by customer.
Order Headers
Order headers can be printed for all orders in Queue Mode however they are particularly useful for customer orders, be they online orders or customer paper orders, since they can print order information along with customer details.