The Template designer allows for several types of elements, both static and variable, to be incorporated into any design, including:
Graphic objects (such as a logo or background image)
Text objects
Barcode objects
A great example that can use a majority of the options for graphics and text is a Student ID card. In the sample IDs below, note the use of static and variable text, graphics, and barcode fields.
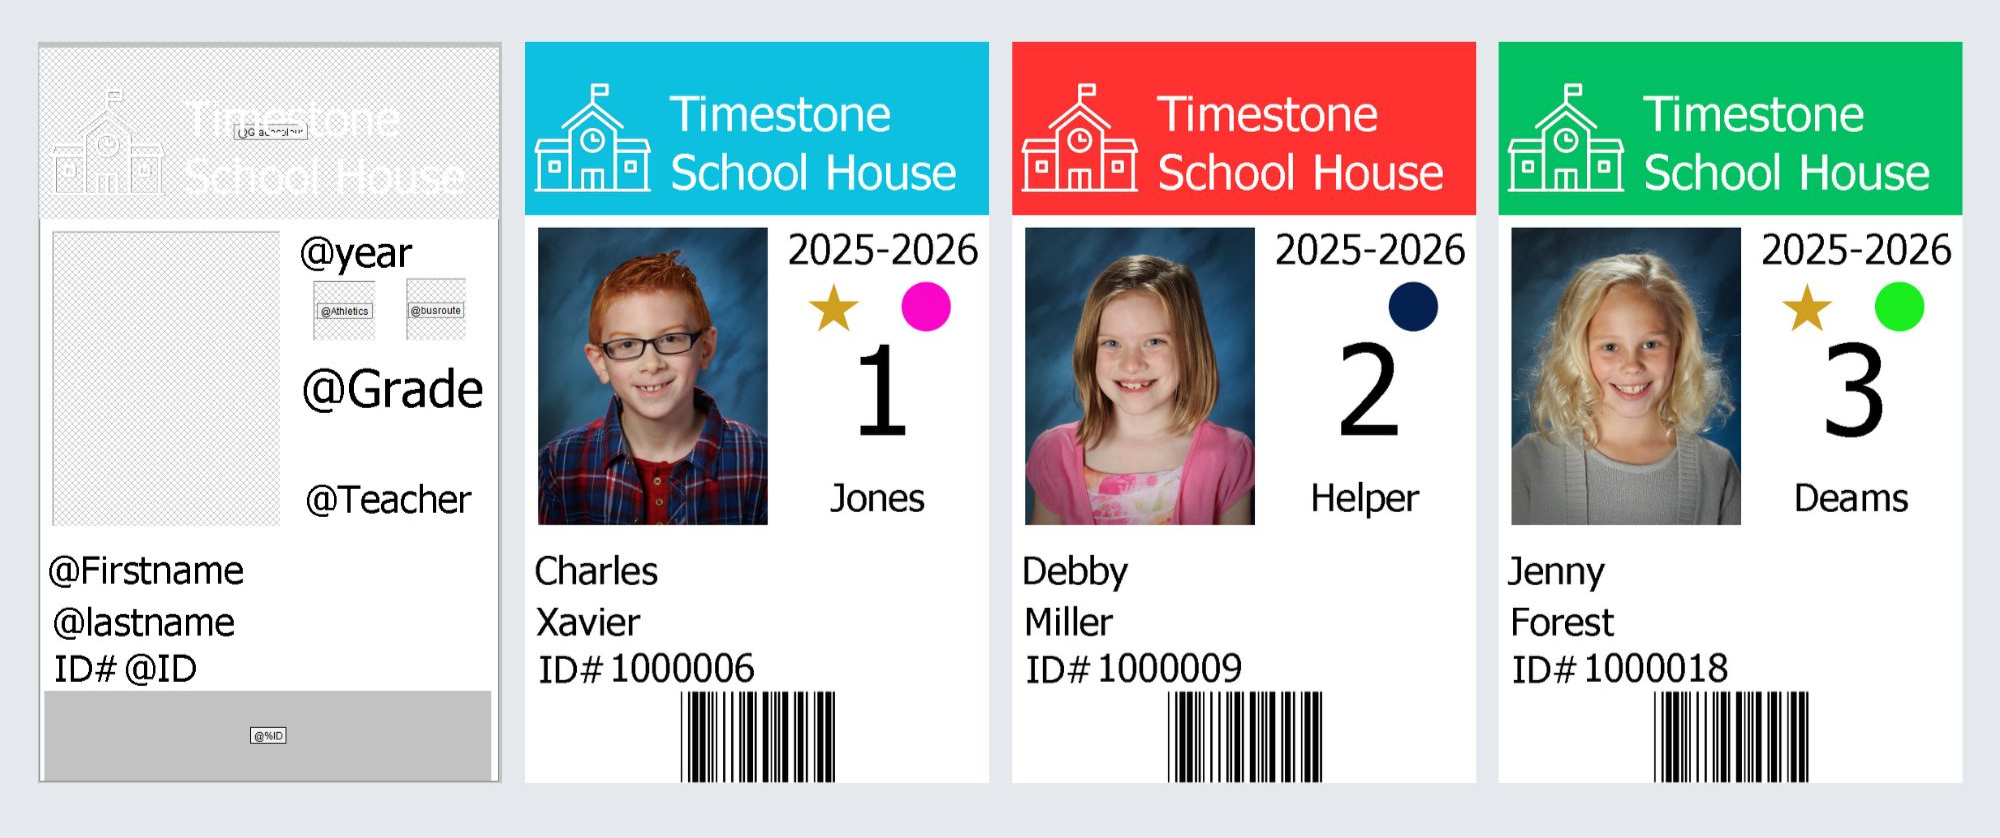
Figure 1: A Sample ID card Template and 3 IDs generated using that template.
Further Reading: Other Design Elements
Text boxes can be placed similarly to other elements and filled with a fixed text message or a variable code.
Barcodes can be used in a variety of ways, including student IDs, identifying subjects, or collecting order information.
A typical application for a template that includes many of the text and graphic options is an ID card. The example template above and its associated graphics are included for the user to follow along.
There are several options for placing graphic elements into a template. They are the Fill, Graphic, and Labeled holders.
Fill
Single-colour or two-colour fountain or gradient fill rectangles can be added to a template via the Add Fill button.
To add a fill to the template:
Click the Add Fill button.
Click and drag over the desired area on the design to place the fill shape. This will open the Fill options window.
Select the Normal or Fountain (Gradient) option from the dropdown.
Select the colour(s) desired.
Click ok to place the Fill shape.
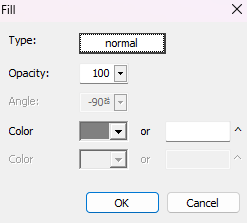
Figure 2: The Fill Options Window
Adding graphics to the template
Graphics may be added to a template in three different ways.
Importing the graphic directly onto the template
Calling the graphic via a graphics field
Calling the graphic via a text field
Each of the above methods has its advantages as outlined below
Graphics may be imported directly onto the template using the Template Designer’s Add Graphic tool as described below.
This method means the graphic becomes part of the template and there is consequently no need for the graphics file to be saved in a graphics directory.
On the other hand, having the graphic directly on the template is the least flexible approach as the graphic cannot be changed from job to job, folder to folder or subject to subject.
Instead of importing a graphic directly onto a template, it is preferable to import the graphic into a field (usually a Job or Folder field). The field is of type graphic.
The template then uses the Add Labeled Image holder rather than the Add Graphic object and is pointed to the desired field with a simple @fieldname code.
This method has the advantage of keeping the template generic and dynamic with different graphics being called onto the template for different jobs and folders.
A variation of the second method is to call the graphic onto the template via a text field rather than a graphics field.
Here the field is a standard text type meaning the user can simply enter the name of the graphics file (with or without extension) or even import the graphic’s filename from a text file.
As with the previous method, the graphic is called onto the template via a labelled holder - Add Labeled Image.
Note that since the graphic has not been imported into neither the template nor the field, it is essential that the graphic be saved in the correct folder as per the paths is tsAdmin
Adding a graphic directly to a template
Graphics can be saved in any acceptable image file format- JPG, PNG, or TIFF- and can be fully opaque or semi-transparent, as in the case of a frame or an overlay.
To insert a pre-made graphic:
Click the Add Graphic button on the toolbar.
Click and drag over the desired area to place the graphic area on the design.
A file viewer window is displayed, and the user can select the desired file.
Click ok to place the object.
TIP
Since the graphic is now part of the template, there is no need for it to be saved into a graphics directory
Labeled Holders for variable graphics
Labeled holders, added to a template with the Add Labeled Image tool simplify the production workflow by creating a placeholder for a graphic such as to a logo.
Rather than re-designing a template each time a graphic needs to change, the labeled holder references the graphic file from a data field. When creating a job, the logo file for example can be placed in the details for the job, folder, or subject data as applicable. The template would then reference the Graphics directory for that job and place the logo on the template.
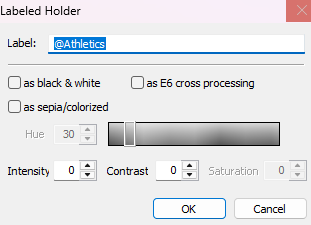
Figure 3: The Label Holder Dialog looking for the graphic associated with the @Athletics Field
WARNING
For the variable graphic to be accessed by the application, the file MUST be in the appropriate folder within the Graphics directory applicable for the job.
In the case that the Template is used by CapturePost to print IDs onsite, the template and the associated graphics must be saved in the jobname#graphics, and jobname#templates folders sitting alongside the TNJ file.
Using the Graphic Type Field
The graphic field type allows the user to manually import an image file directly into the data field, which can then populate a labeled image hole. However, these graphic fields cannot be filled in bulk using a .csv import or the Populate Field option. This graphic data must be set one subject/folder/job at a time and cannot be copied/pasted to multiple records..
To insert a graphic based on a graphic field in the subject data. The user must first create and set a field to the graphic type.
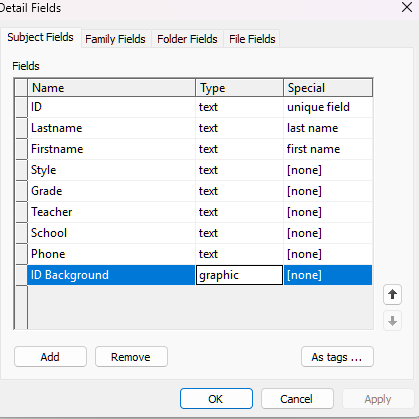
Figure 4: The Detail Fields dialog window
The user can then click on the field and be prompted to select a file to import the graphic into the field.
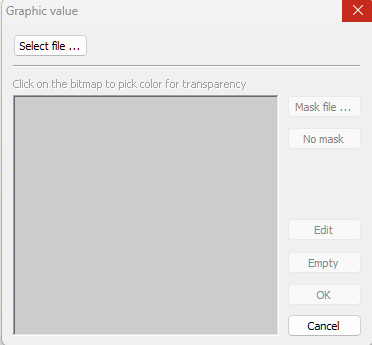
Figure 5: The Graphic Value dialog window.
Using a text type field
If the user wanted to import the graphic information via a CSV or use the populate field tool to mass add graphic data options or would simply prefer to manually enter the name of the graphic rather than import it, the field should be set to the text type. The data then placed in the field should match the exact file name of the graphic the user wishes to call up in the labeled holder.
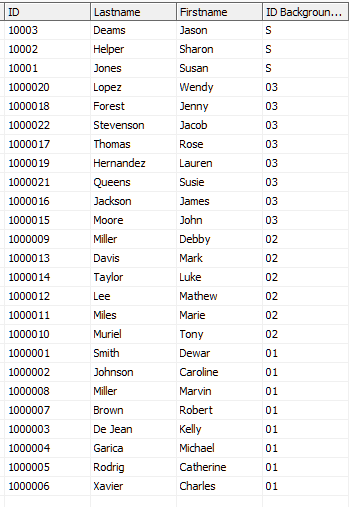
Figure 6: Example graphic data for the ID background field
NOTE
The data entered in the corresponding field must exactly match the file name of the graphic, with or without the extension. Additionally the graphic files MUST be saved in a graphics folder correctly pathed to via tsAdmin
FAQ
What types of elements can be incorporated into a design using the Template designer?
The Template designer allows for graphic objects, text objects, and barcode objects to be incorporated into any design.
Do I need barcode fonts to add a barcode to a template?
No, barcode fonts are not needed.
How do I get the graphics from the field onto the template?
On the template, use the Add labelled Image object and call the field with @fieldname.
How can I add a fill to a template?
To add a fill, click the Add Fill button, drag over the desired area, select the fill option and colors, then click ok.
What file formats are acceptable for graphics in the Template designer?
Graphics can be saved in JPG, PNG, or TIFF file formats.
Is it necessary for variable graphics to be in a specific folder?
Yes, for variable graphics to be accessed, the file must be in the appropriate folder accessible by the job.
Can I import graphics into a graphics type field with my CSV?
No, graphics cannot be imported. Instead the graphic’s name can be imported into a text field.
Do the graphic files need to match the exact file name in the text type field?
Yes, the data entered in the text type field must exactly match the file name of the graphic.