Composite pages produced in Timestone Software’s NeoComposite application are a combination of two (sometimes three) templates. They are created in the Template Designer of NeoComposite.
Further Reading: Template Designer Basics
Many of the Template Designer’s tools and features are common from app to app, even though the created templates differ.
The discussion that follows focuses on the Template Designer in NeoPack.
The Template designer allows for several types of elements, both static and variable, to be incorporated into any design.
Sample templates
Sample templates can be downloaded with the link below. The user may wish to download and refer to these templates while reading this document.
Types of Composite Templates
NeoComposite has three template types:
Page Layouts - also referred to as Composite Page Layouts
Subject Blocks
Boards (seldom used)
Note
A composite page is formed from a combination of page layout and subject block templates. Boards are seldom used
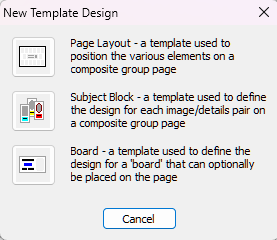
Figure 1: NeoComposite new template design options
The Page Layout template determines the overall size and look of a finished composite page. While it can contain a variety of graphic and text objects, the most important ( and obligatory) element on the template is the Blocks Area, which is the area into which subjects are displayed. Other composite specific objects can be added to this template, such as a Main Block area for rotated composites and an Unfeatured List, which can contain the names of absent subjects
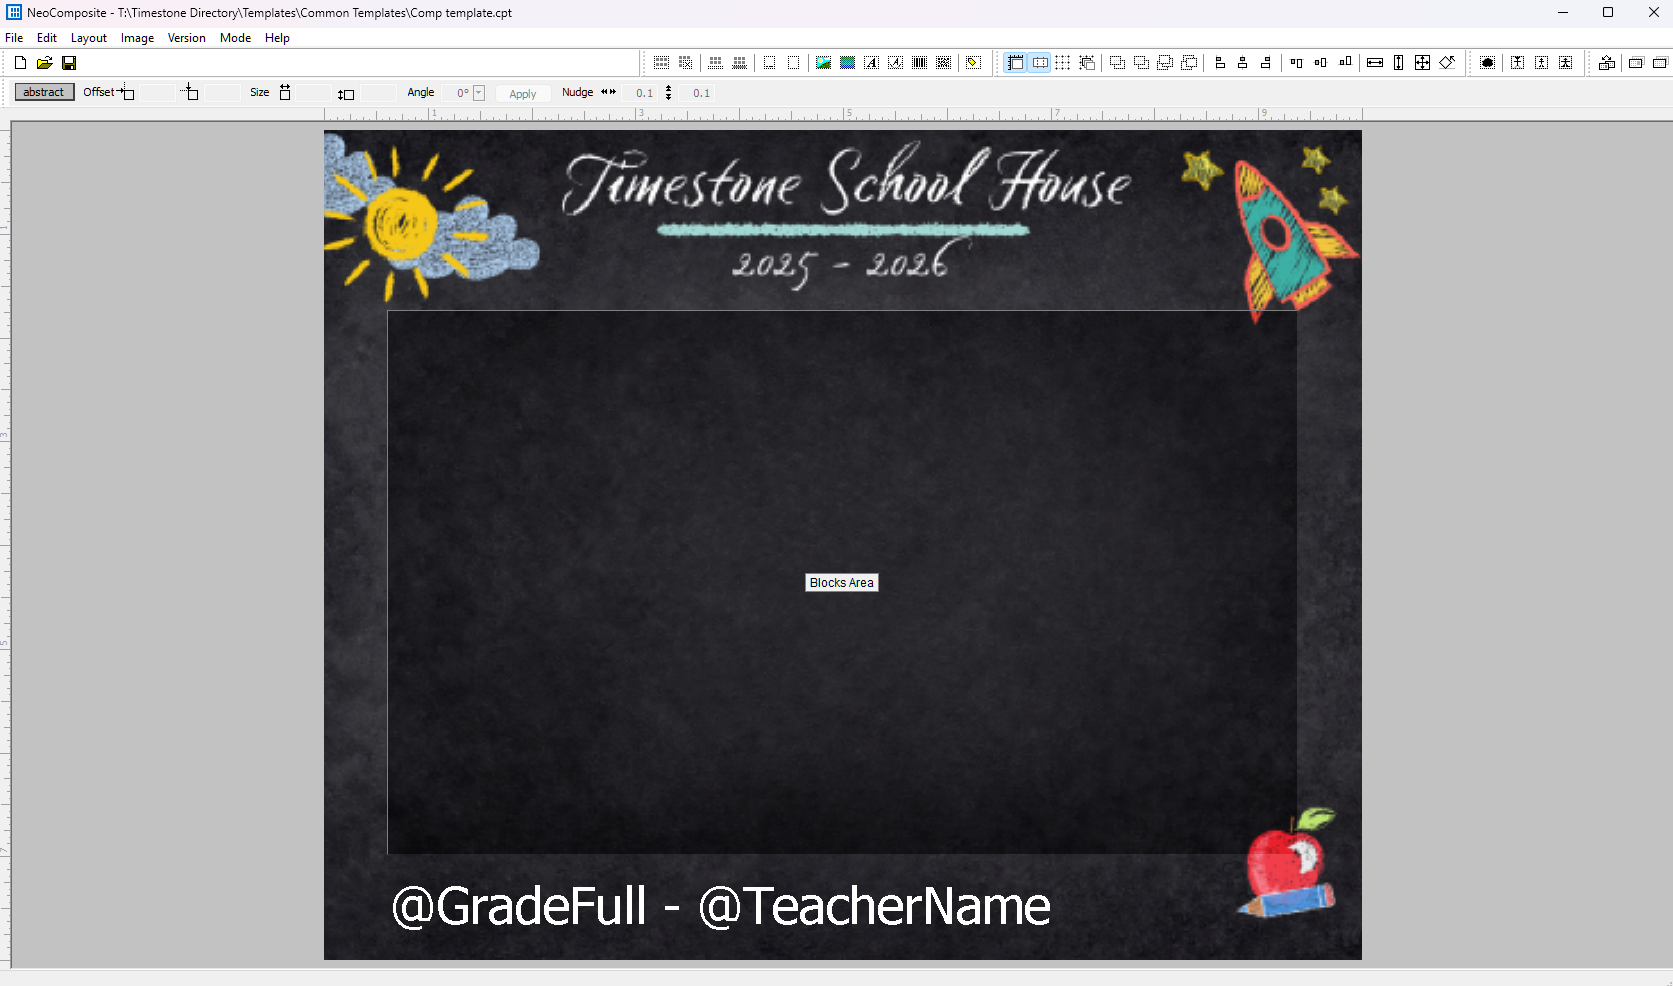
Figure 2: A simple composite page layout template
Caution
Any variable text or graphic objects on a composite page layout should reference fields placed at the Folder or Job level, not the Subject level.
Subject block templates control how each subject appears, including text (usually the name), any object effects, and masks.
By altering the size of the image hole relative to the overall template size, it controls the relative size of the subject, along with the distance between subjects.
Subject blocks do not have a fixed size, as they are automatically adjusted according to the number of portraits on the composite page and the size of the Blocks Area on the Page Layout
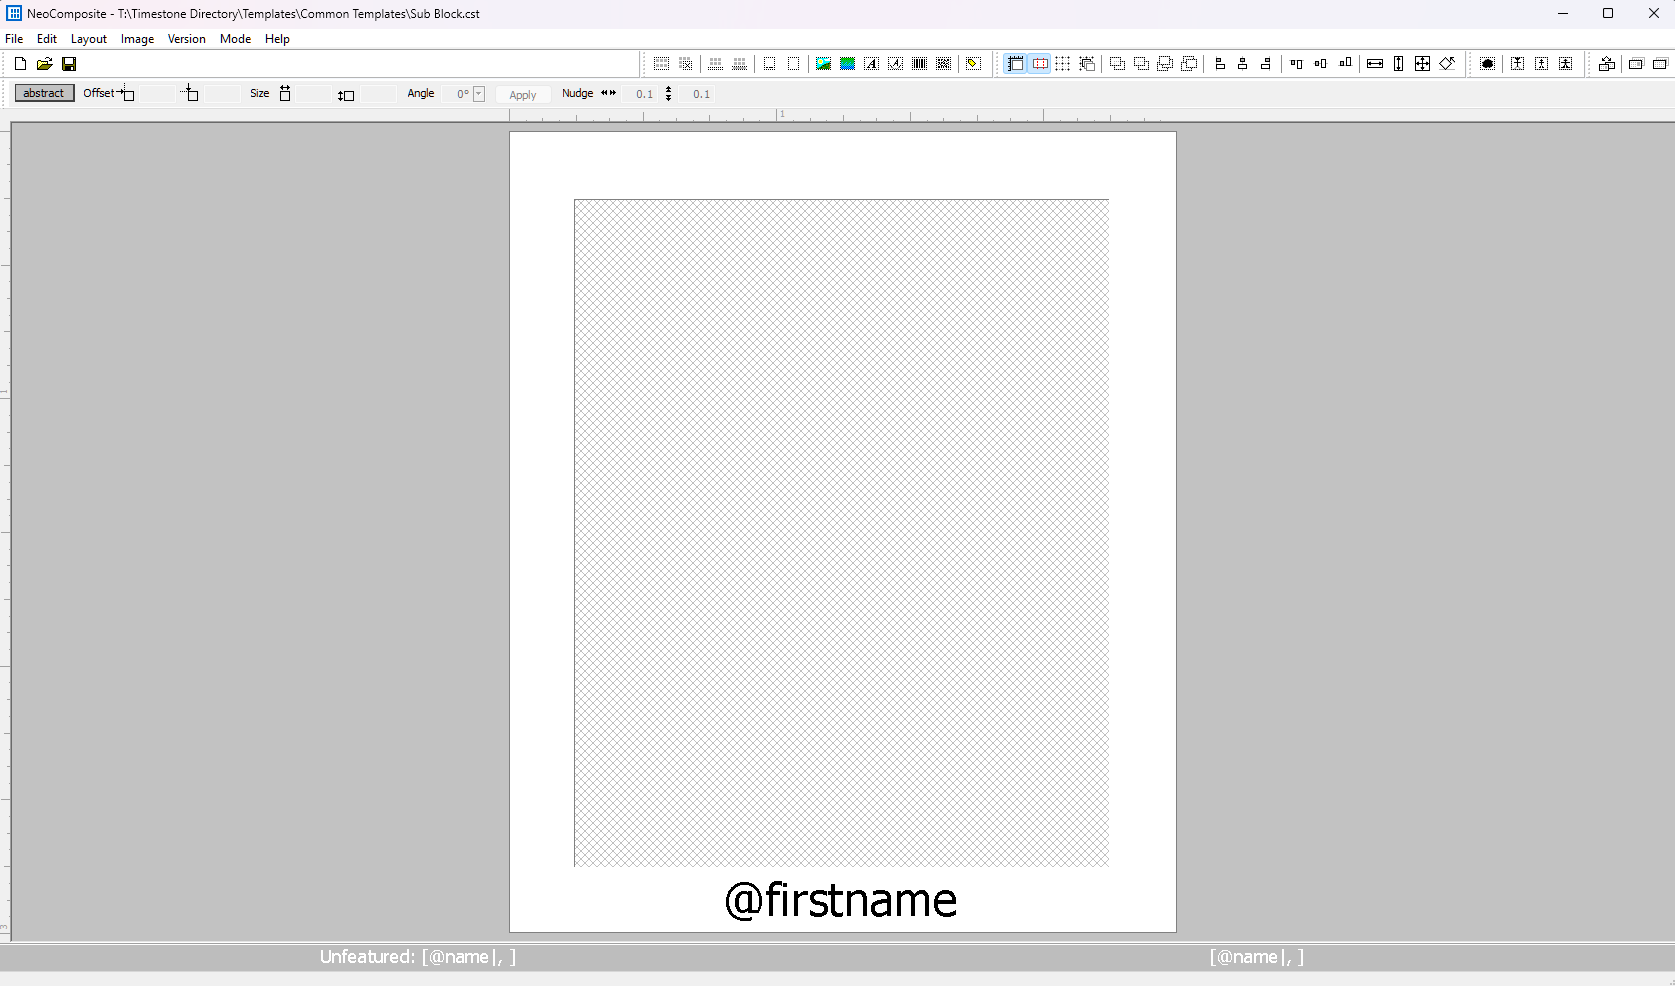
Figure 3: A Subject Block with an image hole and text box
NOTE
Though the subject block appears to have a white background this will actually be transparent and display whatever is behind the subject bock on the Page layout template.
Boards are optional and can contain all the standard template objects, such as fixed and variable text and graphics. The board can also contain any variety of information drawn from the job details. This board will be called automatically to match the height of a row of portraits, ensuring the sizes match. Therefore, a board block is similar to a subject block in that it does not have an absolute size.
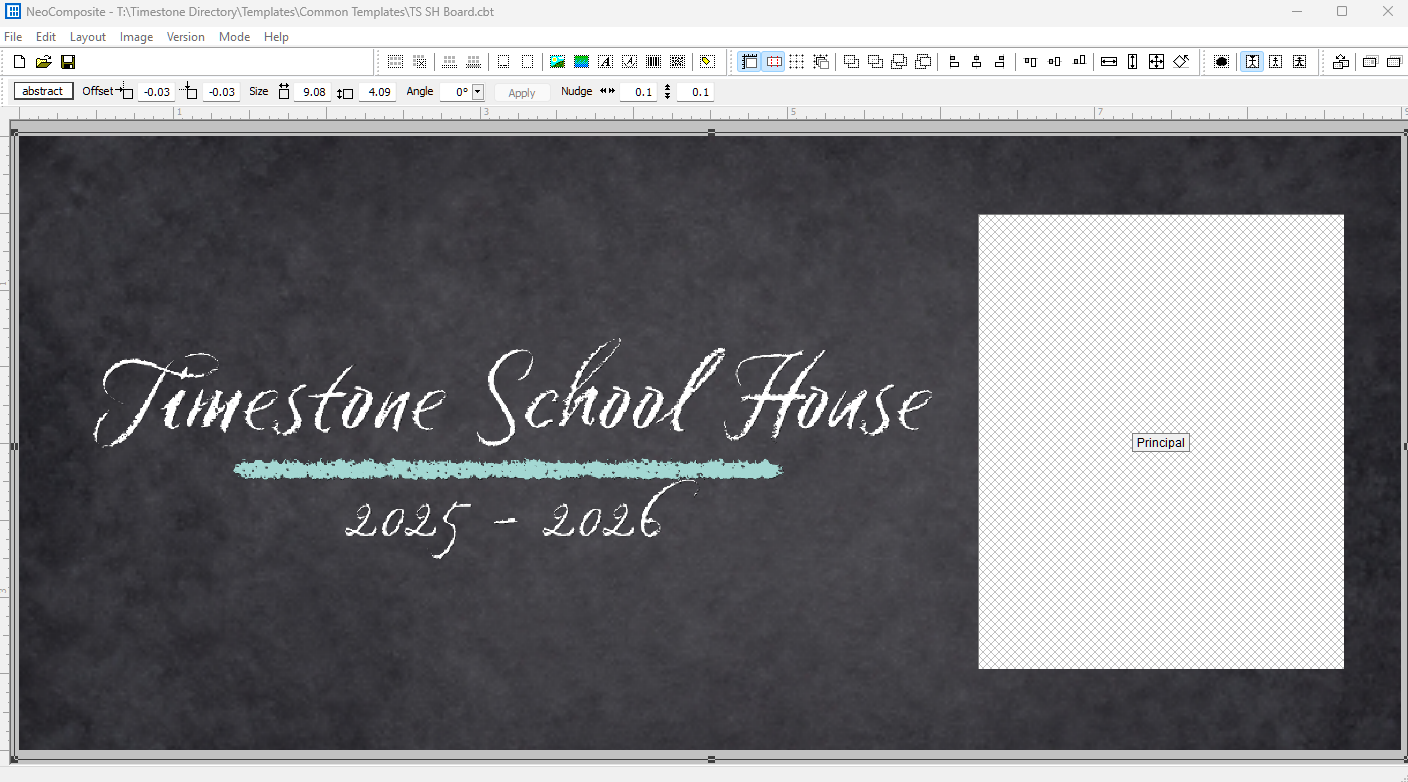
Figure 4: A board Block that contains a Graphic of the school name and a labeled image hole for the principal’s image.
Composite template objects
NeoComposite templates have access to several specialty objects in addition to the common graphic, text and labeled image objects. These objects control how the portraits are positioned on the page. The specialty objects for NeoComposite are the first five icons on the object toolbar and are as follows:
Block area
Spacer
Unfeatured line
Featured line
Main block

Figure 5: The NeoComposite object toolbar
Applied with the first icon on the toolbar (Figure 5), the block area defines where on the page the subject images will appear. More than one block area can be placed on a page, and images will automatically flow between the blocks. Combining this with a cut mark allows the user to create split pages that flow a single composite group across several pages.

Figure 6: A simple composite with a large block area
Block areas can also be filtered to only show subjects from specific folders. This allows the user to separate folders into specific areas on the composite or elect not to display them entirely.
CAUTION
If a filter is applied to a block area then all associated folders, subjects, etc. , must also be included in the selected subjects in Form Pages mode for the composite to render.
Represented by the second icon on the toolbar (Figure 5), the spacer will cause portraits to flow around the area where the spacer object is placed.
For example, the composite design may have a central design element in the graphic background that should be clear and unobscured by portraits. Placing one or more Spacers onto the page in front of the Blocks Area will cause the portraits to wrap around the protected areas.
In the case of Figure 7, note that the school name and graphics are in the center of the main Blocks Area. A Spacer has been drawn over the top of the design and the block area to form a barrier that will cause the subject blocks to be placed around the central design.
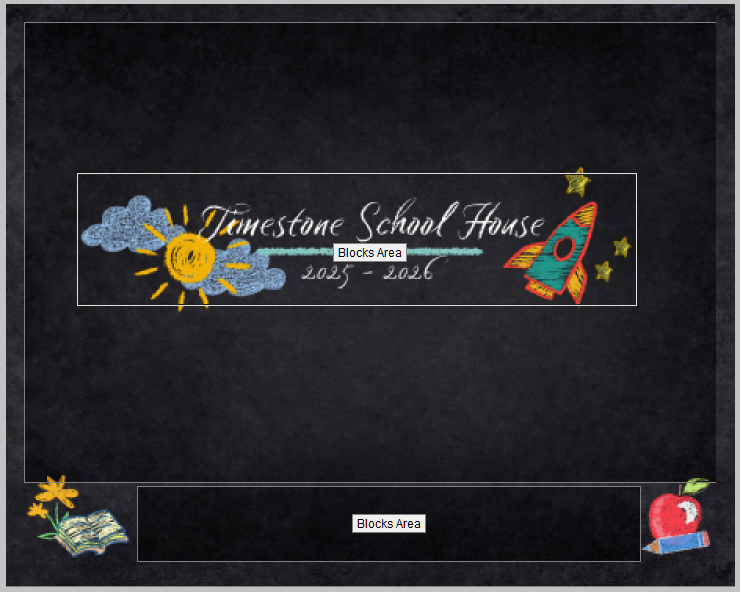
Figure 7: A Composite with a center design area that subjects need to be placed around.
CAUTION
Spacers do not have a label like other object elements, so the user can easily “lose” them on a complex background.
Added with the third icon in Figure 5, the unfeatured line will list the name of every subject that does not have an image.
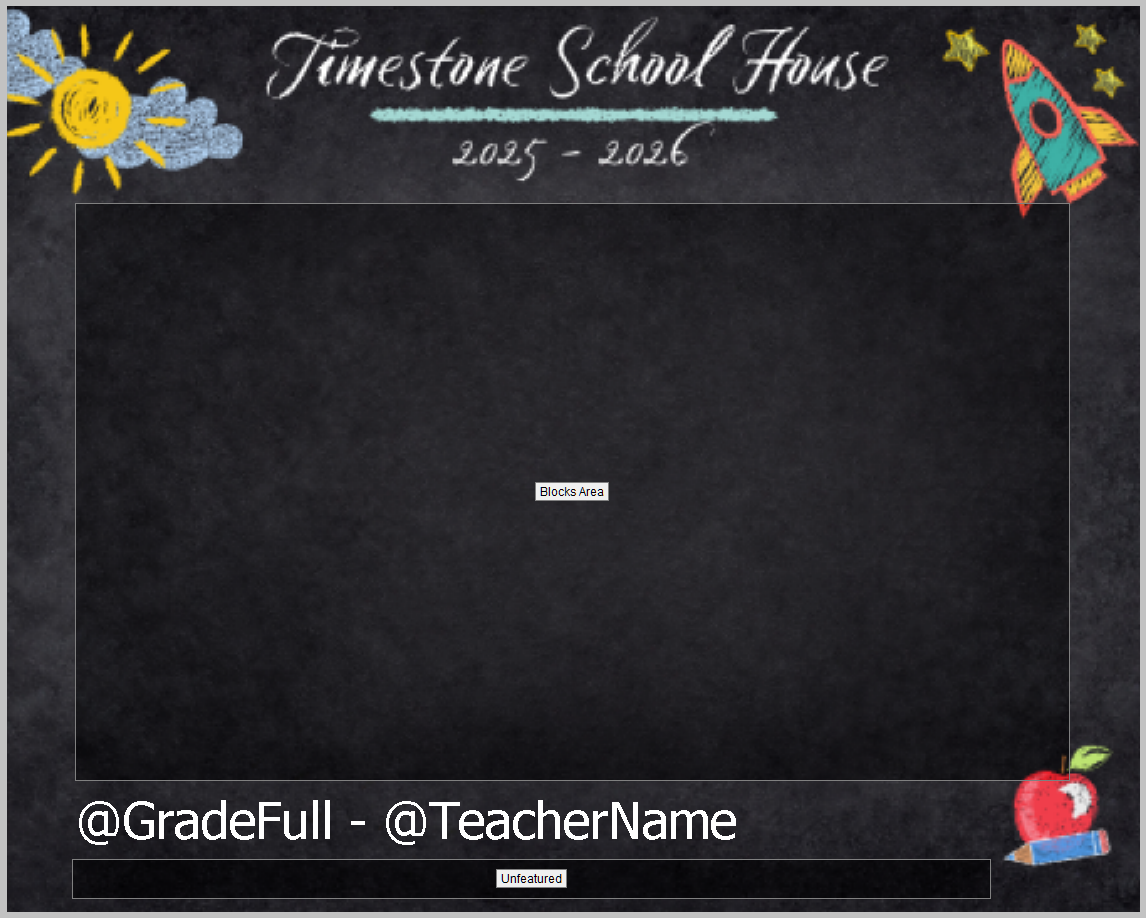
Figure 8: A simple composite template with an unfeatured line.
To use the Unfeatured line, the subject block template must call up any part of the subject’s name (@name, @firstname, @lastname), though it does not have to be visible. The user must also select Show in Unfeatured List from the Unmatched Subjects area of the Composite Set Details dialog window.
NOTE
To alter the text style colour or font of the unfeatured subjects, open the Subject Block template associated to the composite and double click on Unfeatured: [Name|, ]. This will open the standard text edit window. It is also possible to remove or replace the Unfeatured title with something more applicable to the client, like Absent or Unphotographed.
The fourth icon on the toolbar (shown in Figure 5), the Featured list, will list the subjects in the order they are pictured. The user can opt to turn on Rows and choose between cardinal or ordinal numbers and words (Row 1, Row Two, 3rd Row, Fourth Row) and the row numbering order. The user can also customize the delimiter or replace the word Row with another word of their choosing.
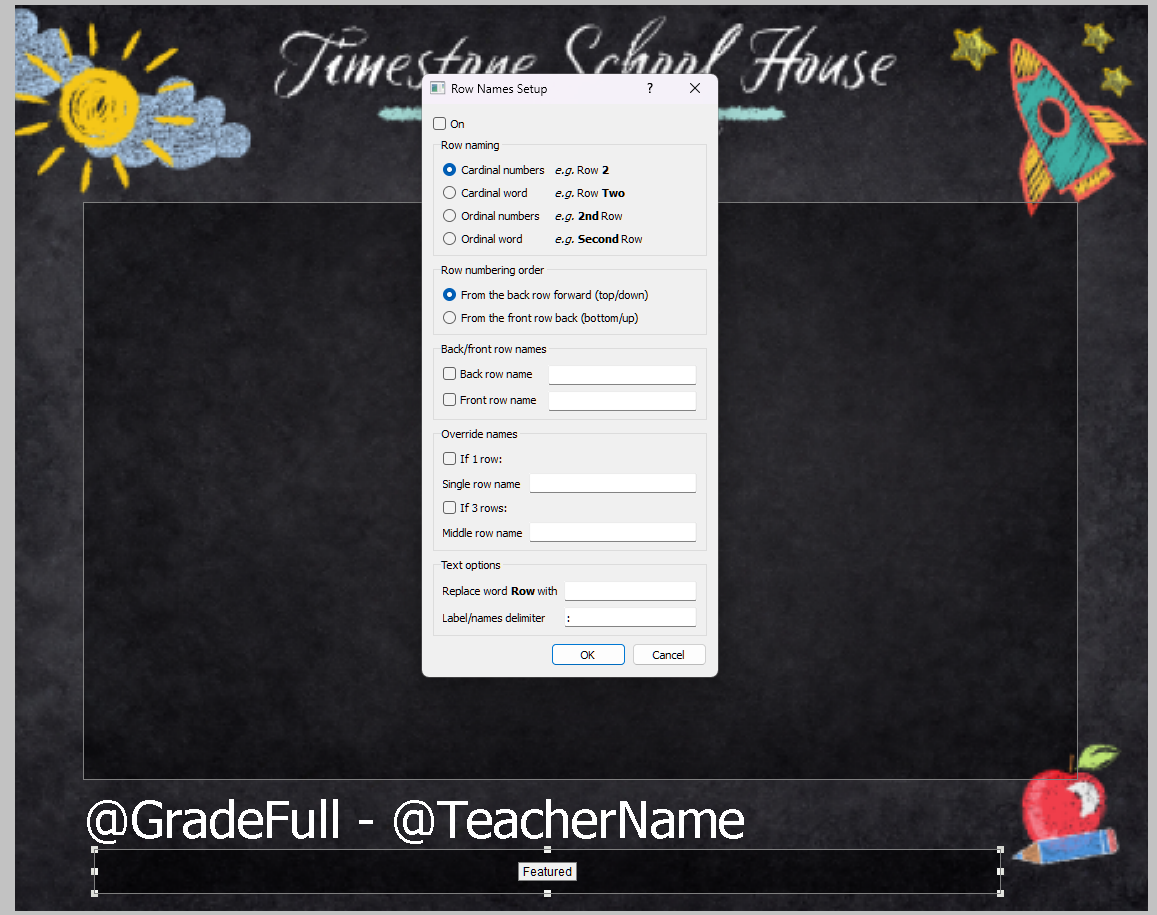
Figure 9: A composite with a featured line and the Row Names Setup dialog window.
Note
To alter the text style colour or font of the featured subjects, open the Subject Block template associated to the composite and double click on [Name|, ]. This will open the standard text edit window.
The fifth icon on the toolbar in Figure 5 above represents the Main Block object. A traditional composite page looks the same for each member of a group. By placing a Main Block onto the page, a customized version can be created for each individual in the group, called a Rotated Composite. The rotation places a larger portrait of each individual onto the page and swaps each member out of the main block into the larger area. The result is a personalized page for each member of the group.
NOTE
When forming Rotated composites, a different subject block template can be selected for the Rotated (main) subject on the page. This can be used to further differentiate the main subject.
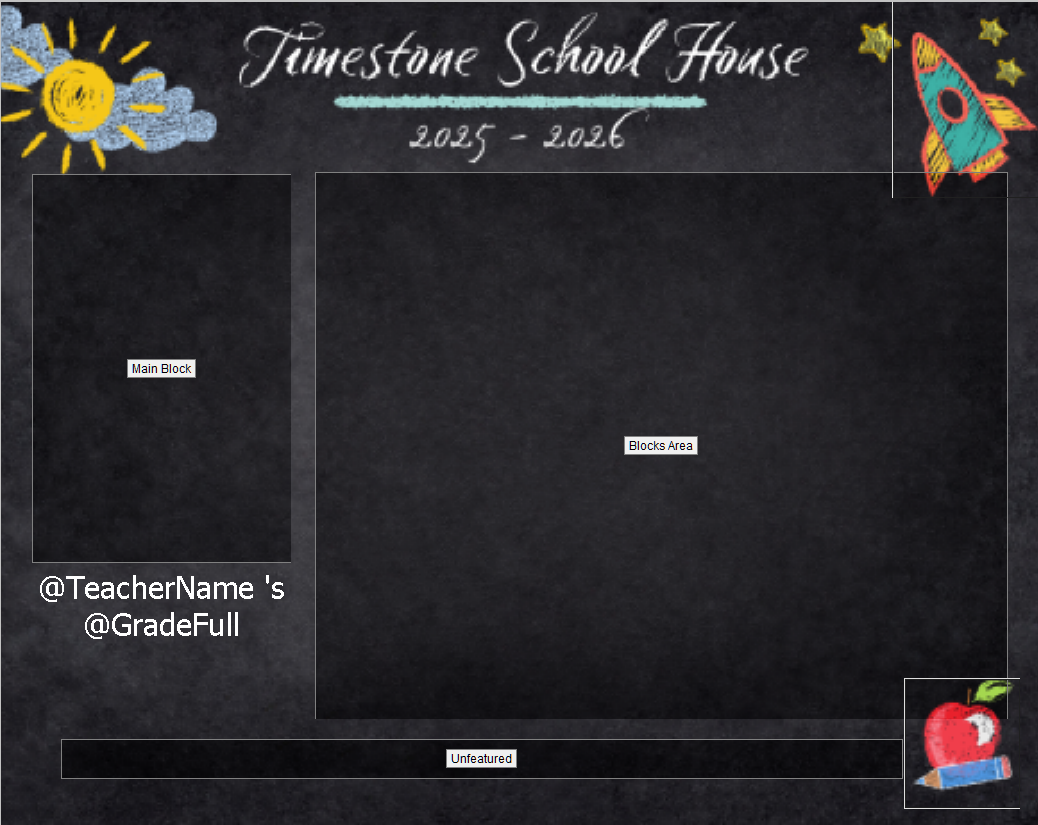
Figure 10: A rotating composite template
Further Reading: Staff Images in a Composite
There are times when a user may want to add images to a composite for administrators, teachers, or coaches.