The Template designer allows for several types of elements, both static and variable, to be incorporated into any design, including:
Graphic objects
Text objects
Barcode and QR objects
This article will focus on adding text to a template.
Further Reading: Other Design Elements
There are several options for placing graphic elements into a template. They are the Fill, Graphic, and Labeled holders.
Barcodes can be used in a variety of ways, including student IDs, identifying subjects, or collecting order information.
A typical application for a template that includes many of the text and graphic options is an ID card.
Text Objects
Text boxes are placed similarly to other elements and filled with either:
fixed, static text
dynamic, variable text through an @ code
combinations of both
Regardless of the type of text, it can be formatted with font, alignment, color and style choices.
To place a Text box:
Click and drag over the template where you want the text to appear. The text entry dialog opens.
Enter the text you want to appear in the template and select the font, style, alignment and color.
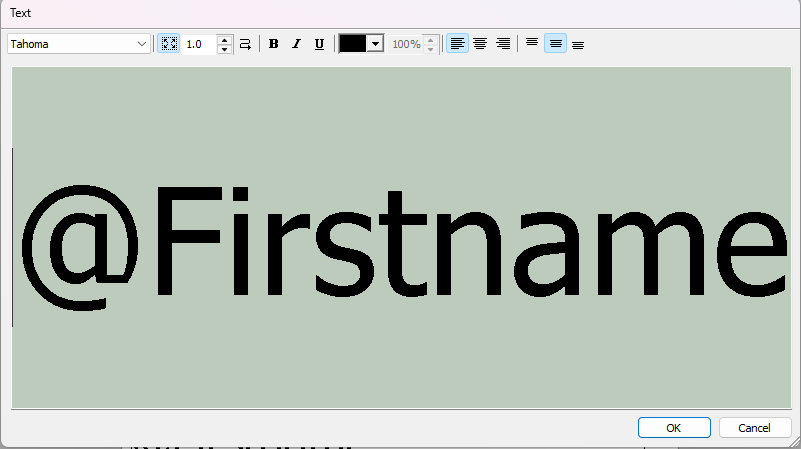
Figure 1: The Text window with the variable text code @Firstname.
Fixed Text
Fixed text will appear exactly as typed in Template Designer, regardless of the job for which the template is used.
Variable Text
Variable text allows subject, folder, family, or job information to be placed onto a template. This allows each template design to be customized to include text such as the subject’s name.
Variable text is defined using an ‘@’ symbol at the beginning of the text placed into the template. When the application sees the ‘@’ symbol, it looks to see if it has a corresponding field available. If the field exists and has data in it, the data will be used; otherwise, it will be blank.
For example, a School ID may use the following @code for each field header, each linked to a corresponding data field in Details Mode:
@ Code | Data Field in Details Mode |
|---|---|
@Firstname | The subject’s first name field |
@Lastname | The subject's last name field |
@ID | The subject’s ID number field |
@Grade | The subject’s grade field |
@Teacher | The subject’s teacher field |
@Year | The file/job level year field |
Further Reading: @ Codes
@codes that can be used on a layout (and elsewhere) to retrieve certain data.
Conditional Text
Text fields can allow for conditional processing of text based on whether a field has data in it or not. This can be used to remove lines of text if a field is blank, replace a blank field with a specific word(s), or even call up data from another field in the case that the desired field is blank.
In the example shown below, conditional text has been used to remove the heading ‘Position’ from a trader card when the subject did not have data in a Position field.

Figure 2: A portion of a Trader card template showing the Conditional text string and then the rendered version of that same template.
Further Reading: Conditional Text
When inputting either fixed or variable text into a text box on any template, it can be set as Conditional, meaning it will only appear if there is information in a specific field.
Text formatting through data
A powerful feature is the ability to dynamically format text by placing style annotations as data within a field, then calling that field into a text box on the template.
These so called ‘Styling fields’ allow the applications to dynamically change the appearance of text from job to job, folder to folder and even subject to subject without the need to change templates.
This can be applied both to static and variable text, as well as combined with conditional text.
Further Reading: Formatting Text Through Data
It is possible to dynamically format text on any layout by introducing a field or fields with formatting tags.